
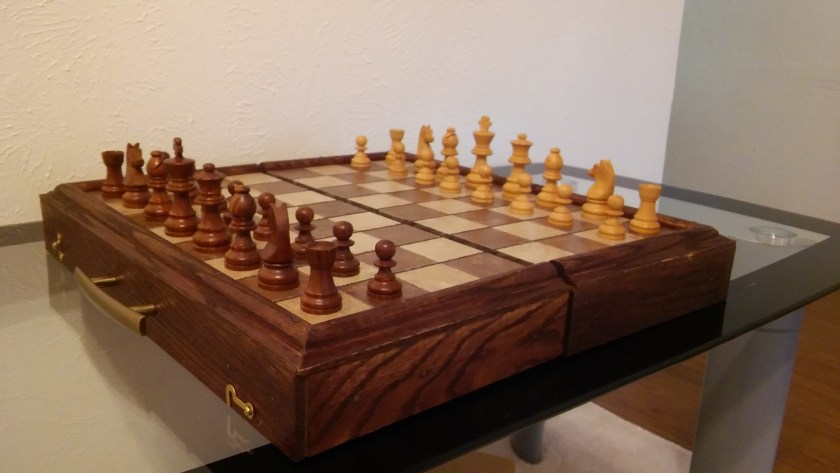
First woodworking project…
…only took nearly 3 years to finish and 4 residences later I put the finishing touches on it. I started this project as a reaction from being in a stressful situation. I had moved to a new city far from home and everything/one familiar to me. My career was going through some turbulence as was my domestic life. Sharing a studio apartment without someone your not into is not a challenge to put yourself through. I needed something to put my mind on, to accomplish, to develop.
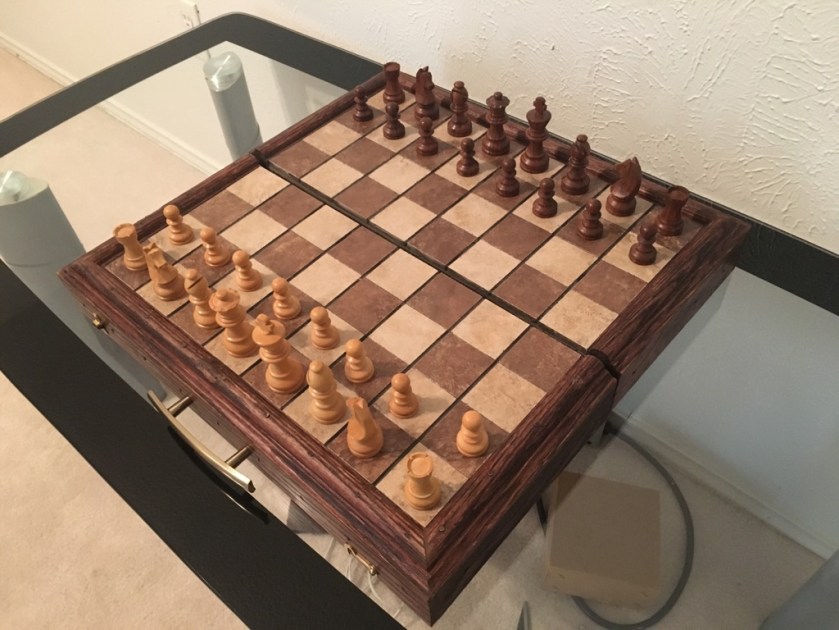
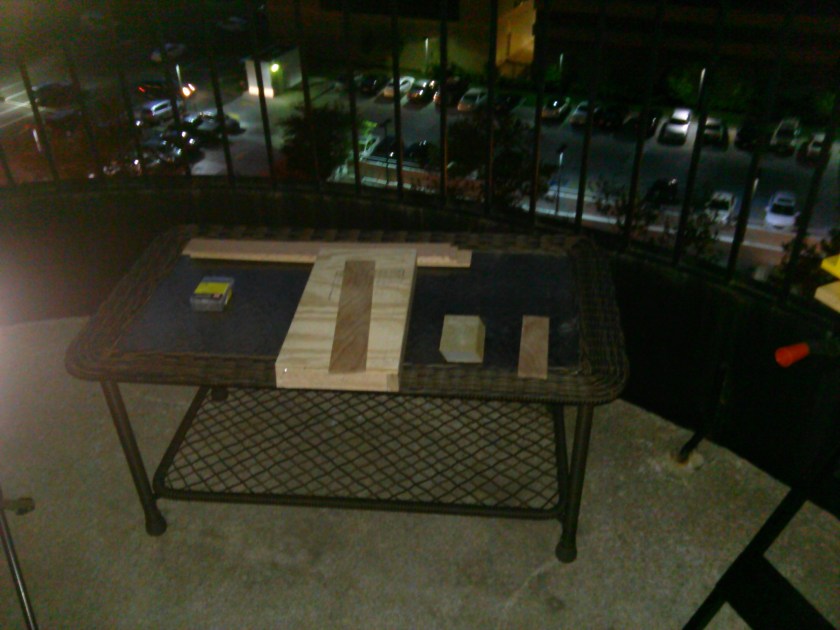
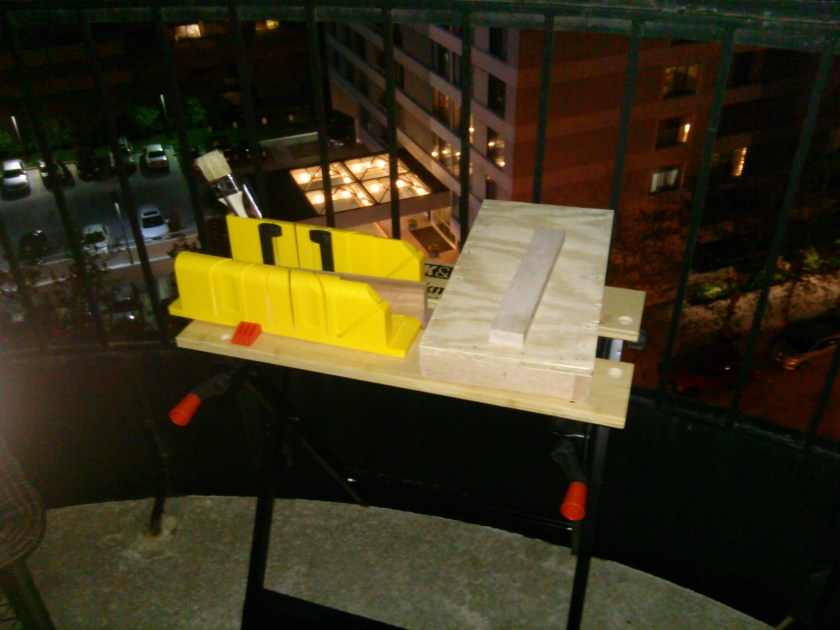
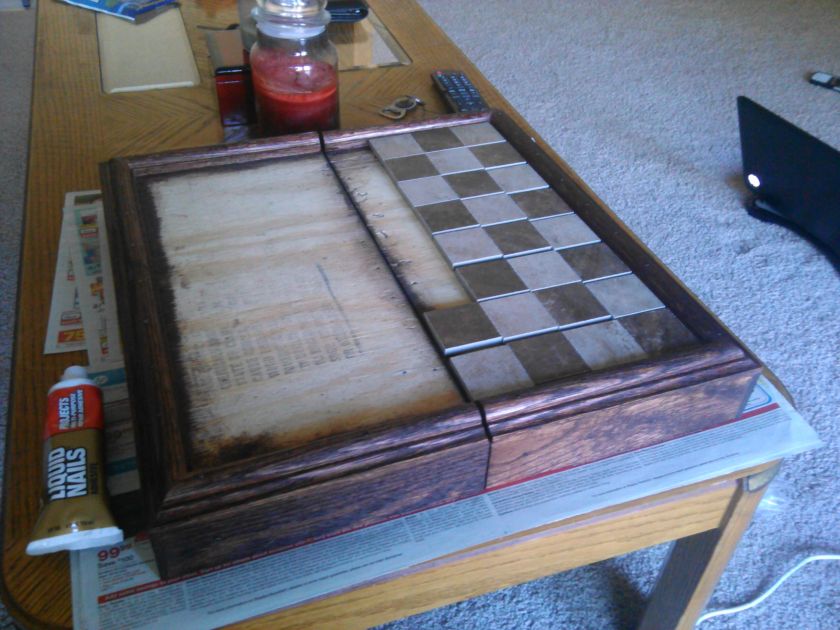
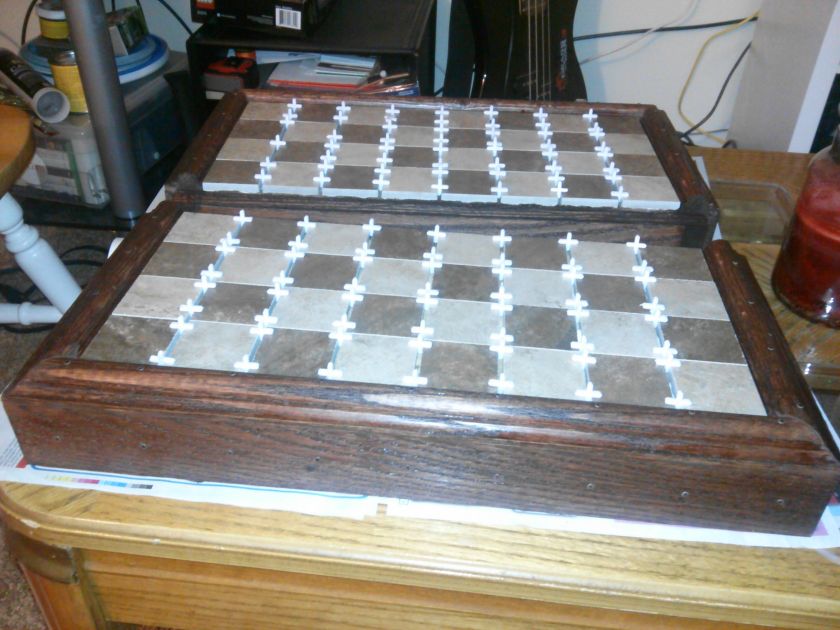
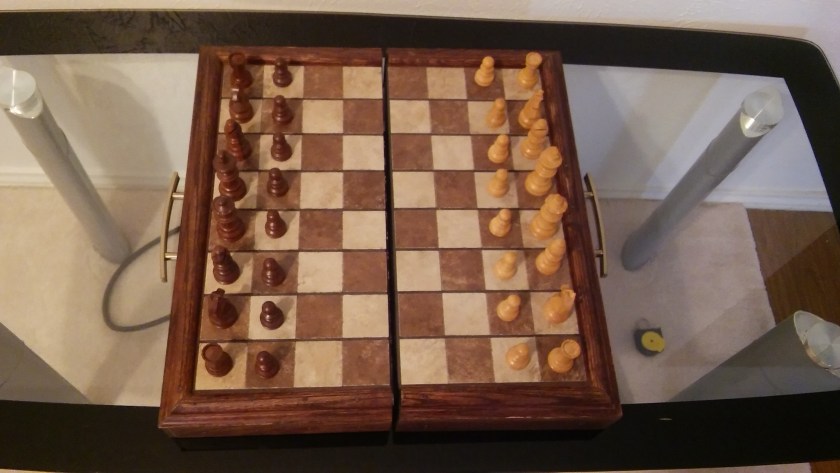
I always liked the idea of a chess board that folds to hold the set pieces inside. Traveling, moving light and living in at apartment does not afford one to keep many tools or have much space to work. I found this to be part of the fun in the challenge, to build a folding chess board with as few tools as possible. No power tools and no clamps. I used only a hammer, nails, plastic miter saw, caulk and liquid nails.
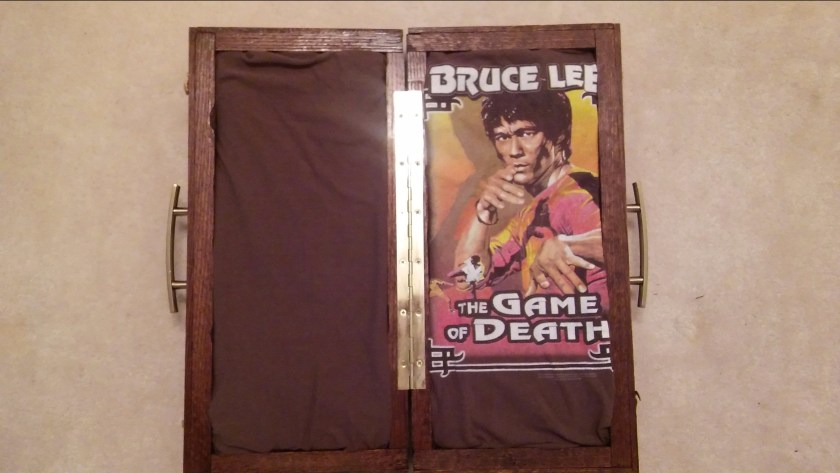
After 2 apartments I got 95% complete but needed a drill to attach the handles which came when I moved again and finally got some power tools (and a permanent place to keep them.)
Building this board has parallels to where I was living. The first apt. and start of the project required a lot of focus, measuring things many times and the hope that things would work out in the end. Part exciting, part scary, I worked diligently with best of intentions. Apt #2 was fun work. I found a great job and this apt. was much nicer and super close to work. Adding the trim and tile in this apt. was when I could really see the board come to life. The stress of building a solid foundation allowed the rest to fall into place perfectly and was a relief. Things are going well. Skip over Apt #3 for relocating again and setting up a great position in my career. Now in my home I was able to finish up the foam, liner and handles to make it and me completely satisfied.


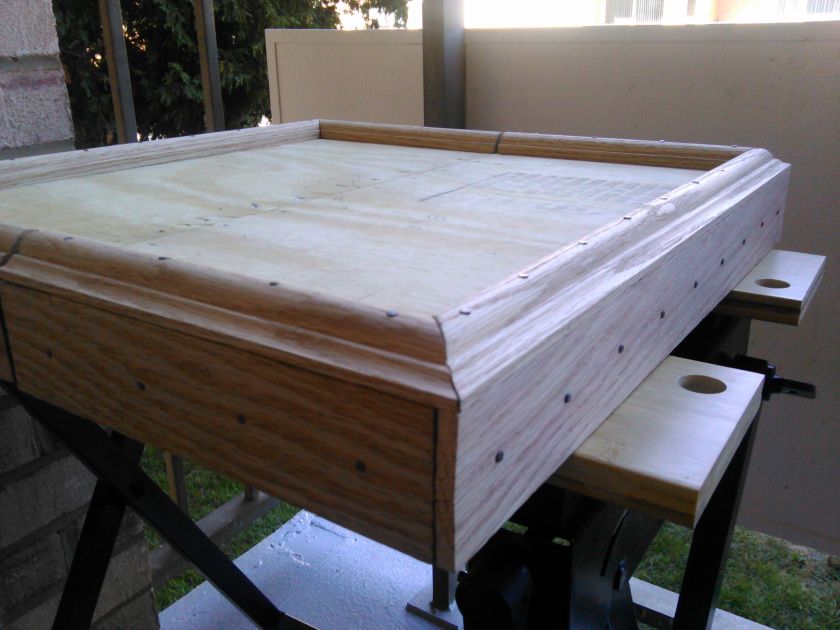

Second woodworking project

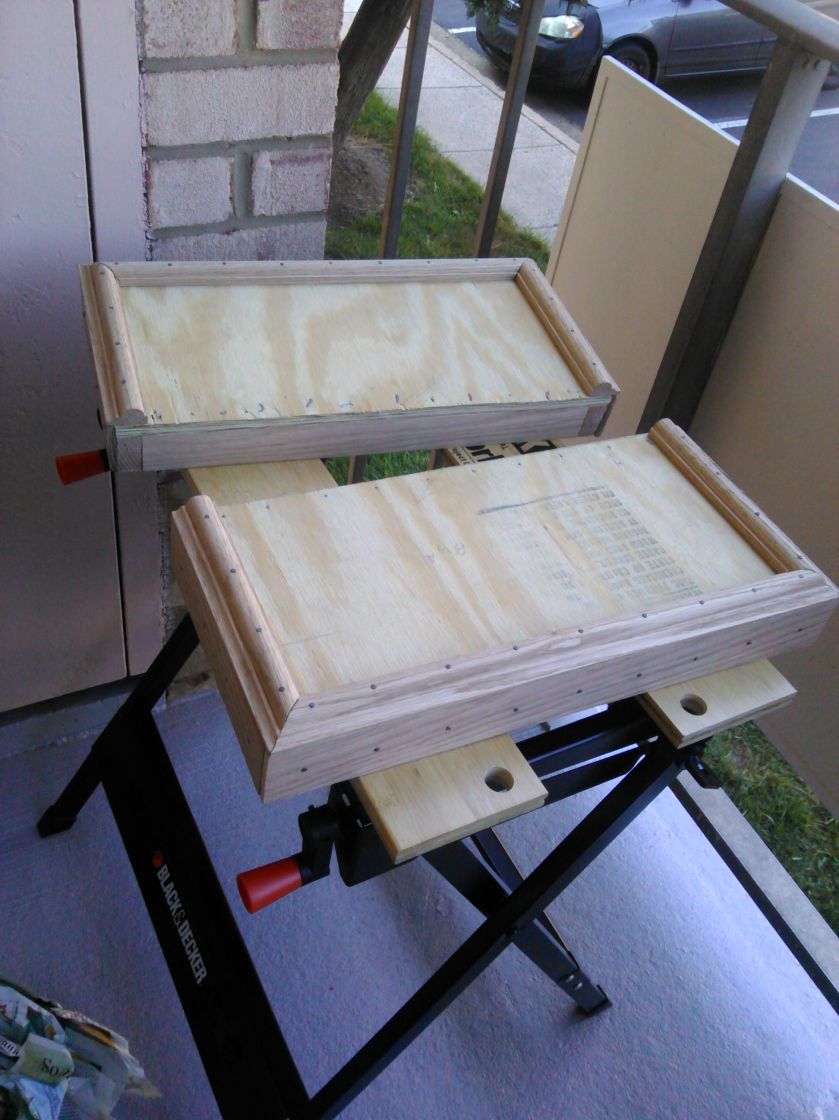
After scoring a great deal on a refurb Hitachi compound miter saw (thank you Slickdeals), it was clear I needed a table to bolt it to. I took two 2x4s and a sheet of birch ply to make the table. Add a few common nails for additional tool storage and we have a beautifully crude, effective, and inexpensive work table. I left a gap between the worktop and the lateral bracing to add drawers down the road if needed.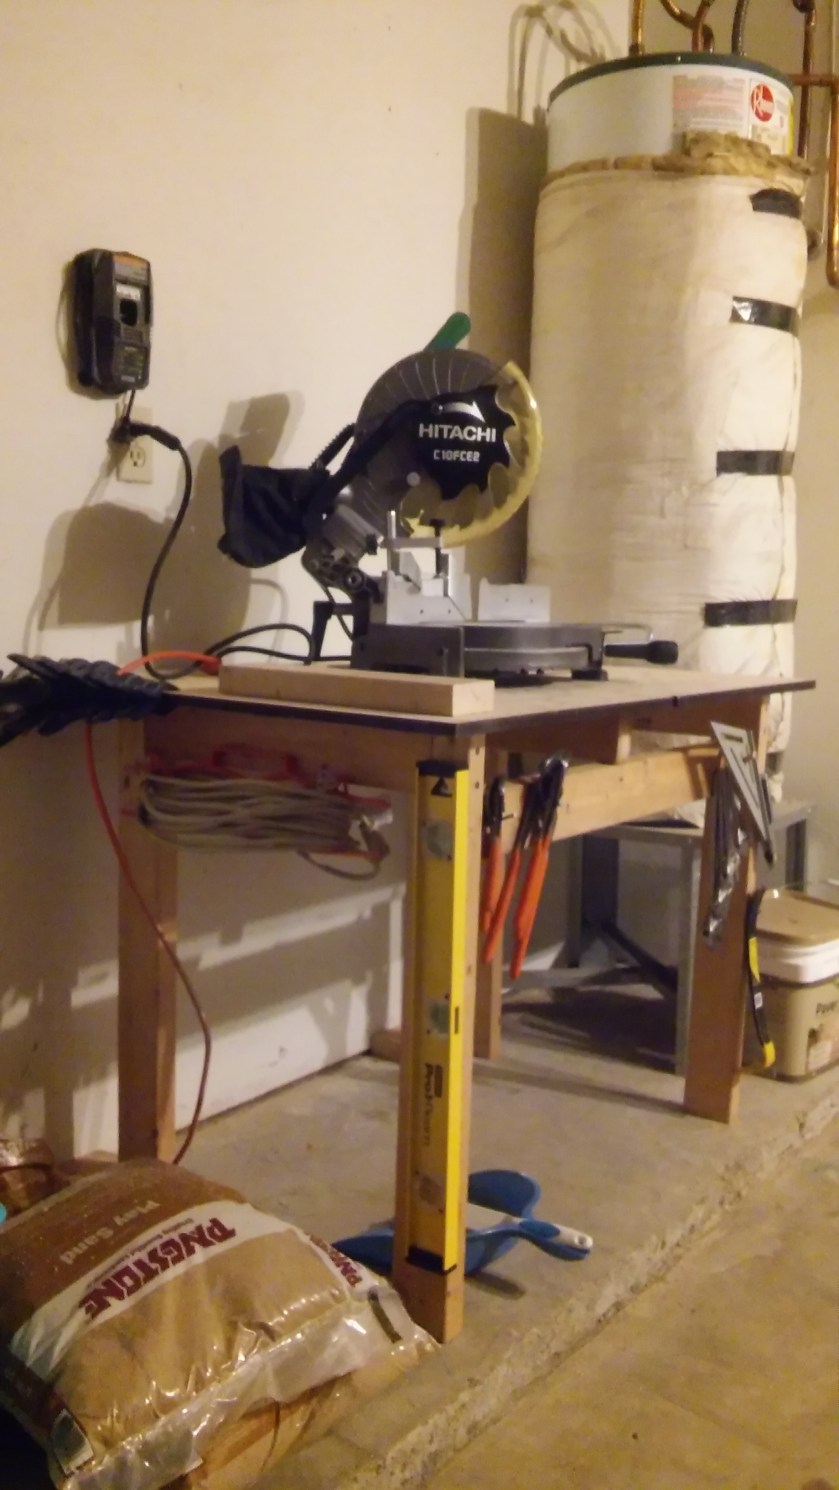
I added a simple rabbet half the depth of the four legs to carry the beams running front to back. This helped the nails penetrate the beam to an adequate depth. Without a table saw, they were carefully and partially cut with a circular saw then finished with a hand saw and chisel for a flush 90 degree fit.
